
Good morning all and happy weekend to you all. I'm feeling a little sleepy at the moment, with Autumn around the corner and the dark nights making an appearence it is somewhat reflecting my mood in what I have made for this project.


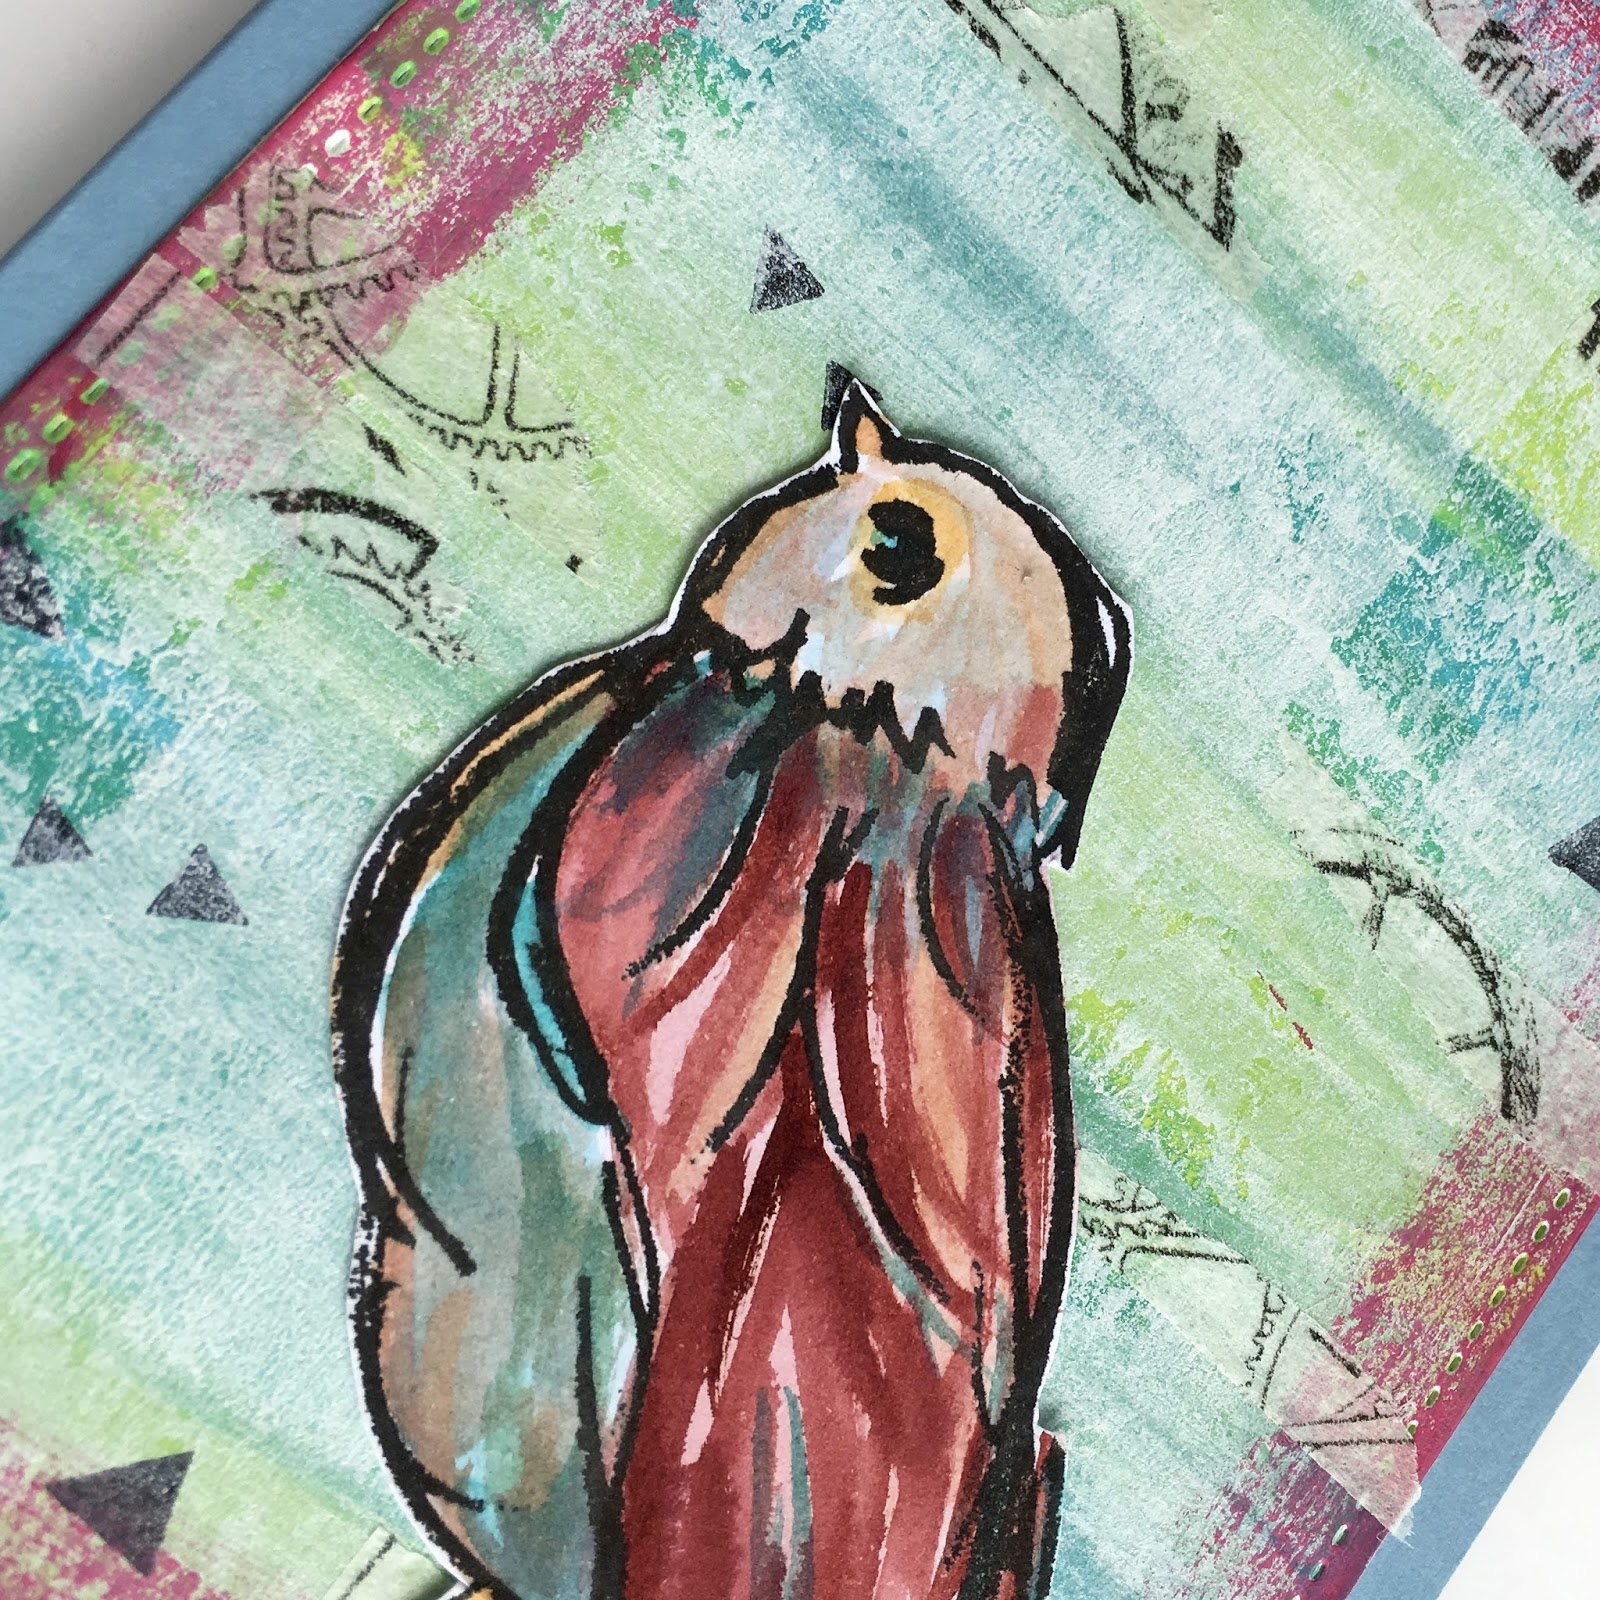
Around the tiles and Pajama Party I went in with my inktense pencils and added some shadows. Finally I doodled with a White Posca pen.
For this project I used:
Dylusion paints (crushed grape, lemon zest, bubblegum pink, vibrant turquoise, white linen)
Stampotique - Magda Polokow - Pajama Party
Finnabair art basics 3D Matt gel
Finnabair art ingredients mica powder blue opal
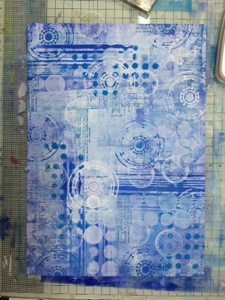
On the door hanger I gave a coat of gesso. Over this I blended crushed grape and white linen Dylusions paint. Once dried I applied some tiles of card using the 3D gel. Using the lemon zest and bubblegum pink I applied more Dylusions paints in random areas of the hanger, I love the way these blended to a different orange shade. I dried this layer before using the vibrant turquoise paint again in random areas. I knocked everything back by dry brushing with white Dylusions paint. Once this was dry I added some more vibrant turquoise.
Now that I had finished my painting I added some background stamping and stenciling, through a raindrop stencil I scrapped over some of the 3D gel and set aside to dry.
I stamped Pajama party onto some watercoloured card and coloured with inktense pencils. I cut her out and adhered her using the 3D gel.
Around the tiles and Pajama Party I went in with my inktense pencils and added some shadows. Finally I doodled with a White Posca pen.
Remember to drop by the A Sprinkle of Imagination shop where there are lots of special offers!
Crafty hugs,
Clare X X X


