

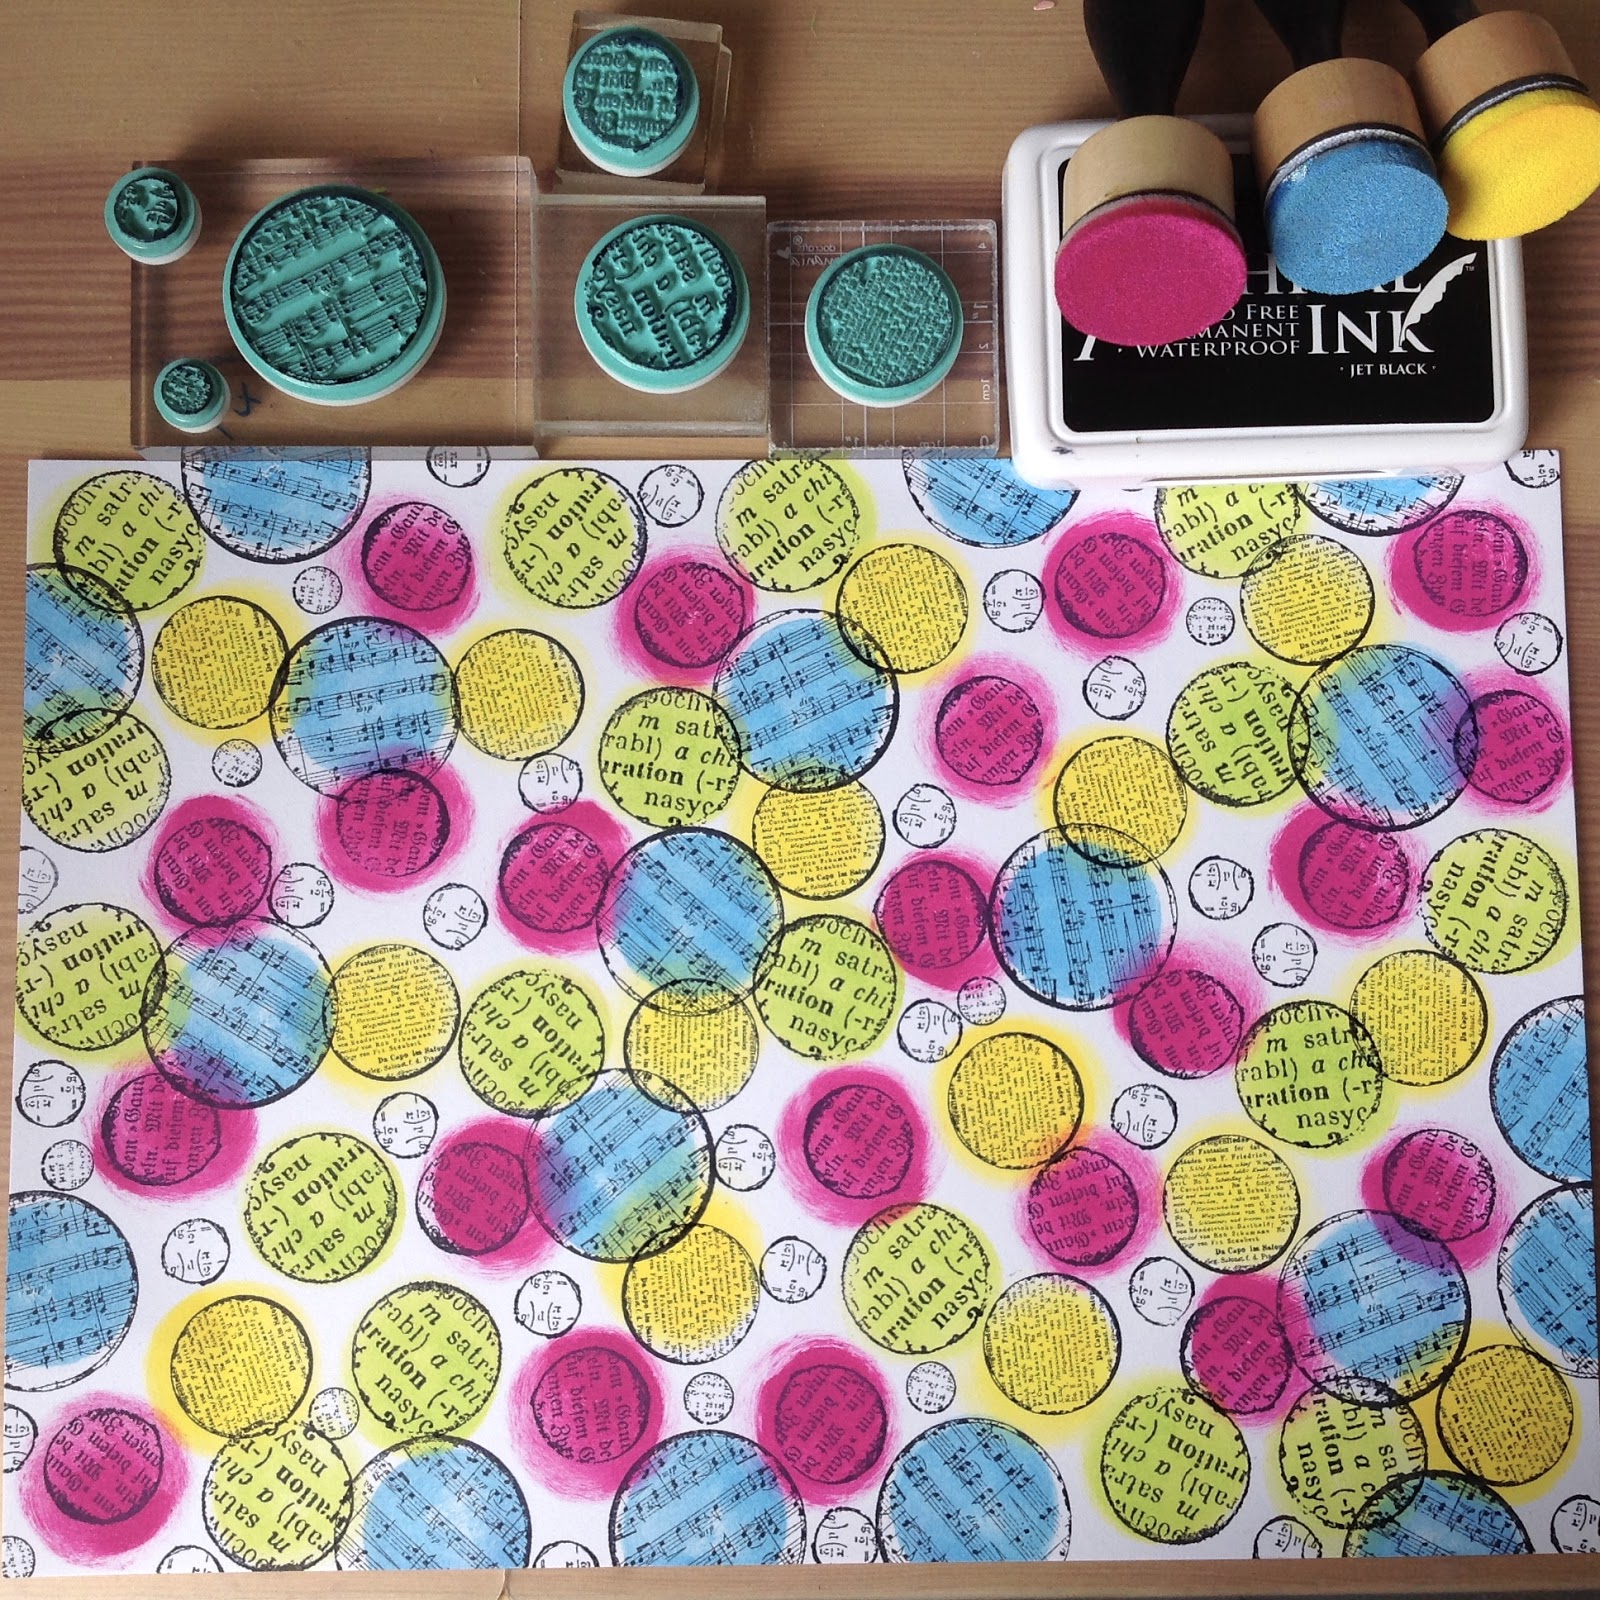
Morning, folks! I decided to make a masterboard that I could cut up for cards. I started by sponging my Dylusions paints onto a sheet of A4 card using Mini Blending foam. Next came some stencilling using Tim Holtz Stencils, then then stamping with Dina Wakley Textures using Ranger Archival Ink.
Then I started chopping the masterboard up for card fronts and toppers:

 |
| 148mm sq card (Dymo tape sentiment) |
 |
| A6 card |
 |
| Topper on A6 card - this one's my fave! |
 |
| This could either be a bookmark or a gift tag. |
 |
| Topper on a 148mm sq card |

And now I've got another masterboard!
Have a crafty day!
Shirley x
3 comments:
Gorgeous masterboard & cards! Love the bright Dylusion colours.
This makes me happy!
I love how vibrant the colors are togehther! - Irma
Post a Comment