30 August 2016

Let's Go Fly a Kite

Hi everyone, I hope you enjoyed your long weekend!  I've got a clean and simple card for you today.

This silhouette image by Jenni Bowlin looks great with very little embellishment.  I just sponged a background using Seedless Preserves Distress Ink, then l laid the Fence Frame stencil from The Crafters Workshop and sponged more Seedless Preserves.  To ground the image I stencilled Black Soot Distress Ink through the Tim Holtz Stripes stencil.


To finish off, I trimmed my panel then mounted it onto purple card.

Thanks for stopping by!

Shirley x

22 August 2016

Master board makes

Hello fellow bloggers,  I've been going master board crazy lately, it really is a good place to start when you are looking for inspiration for a project.  Working with stencils and paints to build up the layers and create different looks the effects you can end up with are too many to mention.


I started of with with my master board using Dylusions white linen, London blue and after midnight.
With the help from Dylusion, Tim Holtz and TCW stencils I built up my layers.  I added some
background stamping using the stamps from Tim Holtz District warehouse set.


The circles are from Finnabair Don't for get to fly set.  I stamped these directly onto my master board and then stamped these onto watercolour card with black ink and heat embossed with clear powder.  I coloured in the flowers and added some doodling with a white Posca pen.


I cut out the circles and layered them onto the card.  With a white and black posca pen I flicked and splattered across the card and finally added the lawn fawn sentiment 'Happy birthday to you'.


 I also used another section of the master board using the warehouse district and still have another couple of pieces to come back to for future birthdays.


Thank you for stopping by today.  I hope you have enjoyed my blog post? Come back again soon!

Crafty hugs,

Clare X X X 


http://www.asprinkleofimagination.com/stencils/

17 August 2016

Two Scribbly Birds

Hi there peeps!  Are you enjoying this little burst of summer?  I've managed to drag myself away from the garden for a few hours of crafty time.

I've been playing with the Scribbly Birds set from Dina Wakley.  I made a couple of background panels using Dylusions paints, then cut two panels using the Lawn Fawn Lawn Cuts Small Stitched Rectangle Stackables Dies.
I smudged the paints onto the panel, splattered some white, then once that had dried I brayered some white over the top to knock everything back.
I stamped the bird in Versafine Onyx Black, then watercoloured using Distress Inks and fussy cut the image.
Cut-down strips of Tim Holtz Idea-ology Tissue Tape were added to the panels for visual interest.
My second card was made using the same process.  I stamped some triangles from Hero Arts Stamps & Cut - Happy onto the panel.
This time I tore the tissue tape into strips to layer onto the panel.
Thanks for popping in, and enjoy this good weather while it lasts!
Shirley x

11 August 2016

Here's the science bit!

Hi blog friends it's Clare here today and today I'm revisiting a technique that I used a long time ago.  It's more of an experiment with paint if I'm honest, it really is quite scientific!


Using Dylusions lemon zest, I painted a layer onto the canvas and dried.  After this I painted a watery layer of white linen, with a pipette I added some drops of surgical spirit. Here's the science bit!  The surgical spirit pushes the paint away leaving these beautiful natural circles that you can see below.


It is very important to do this in a well ventilated room!  Once the white layer was dry I added a watery layer of vibrant turquoise and added more surgical spirit, dry again, and another layer of watery white.


Once my white layer had dried I added the final layer of bubblegum pink and repeated with the surgical spirit.  I stamped Stampotique, Kira Nichols, Kitty Squad stamp and coloured with  water soluble crayons.  I cut them out and placed them popping out of the circles.  I stamped one of the Dylusions sayings and added to the mini canvas.  Finally a little doodling with my posca pens.


I decided that I would add a magnetic sheet to this canvas and pop it on the fridge.

Thank you for stopping by today, have lots of crafty fun!

Hugs,

Clare X X X 


09 August 2016

Dylusions love !!!!!!

Hey there lovely creative ones. Hope you are all keeping well.

We are enjoying some lovely weather here in the UK at the moment and it just puts me in such a good mood..makes me appreciate all the lovely colours and flowers all around me.....


Playing in my large Dylusions journal and of course the wonderful Dylusions acrylic paint and stamps. 

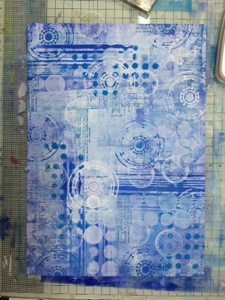
Created a fun background first using various coloured Dylusions paints and adding some random stamping with a black archival ink pad. 


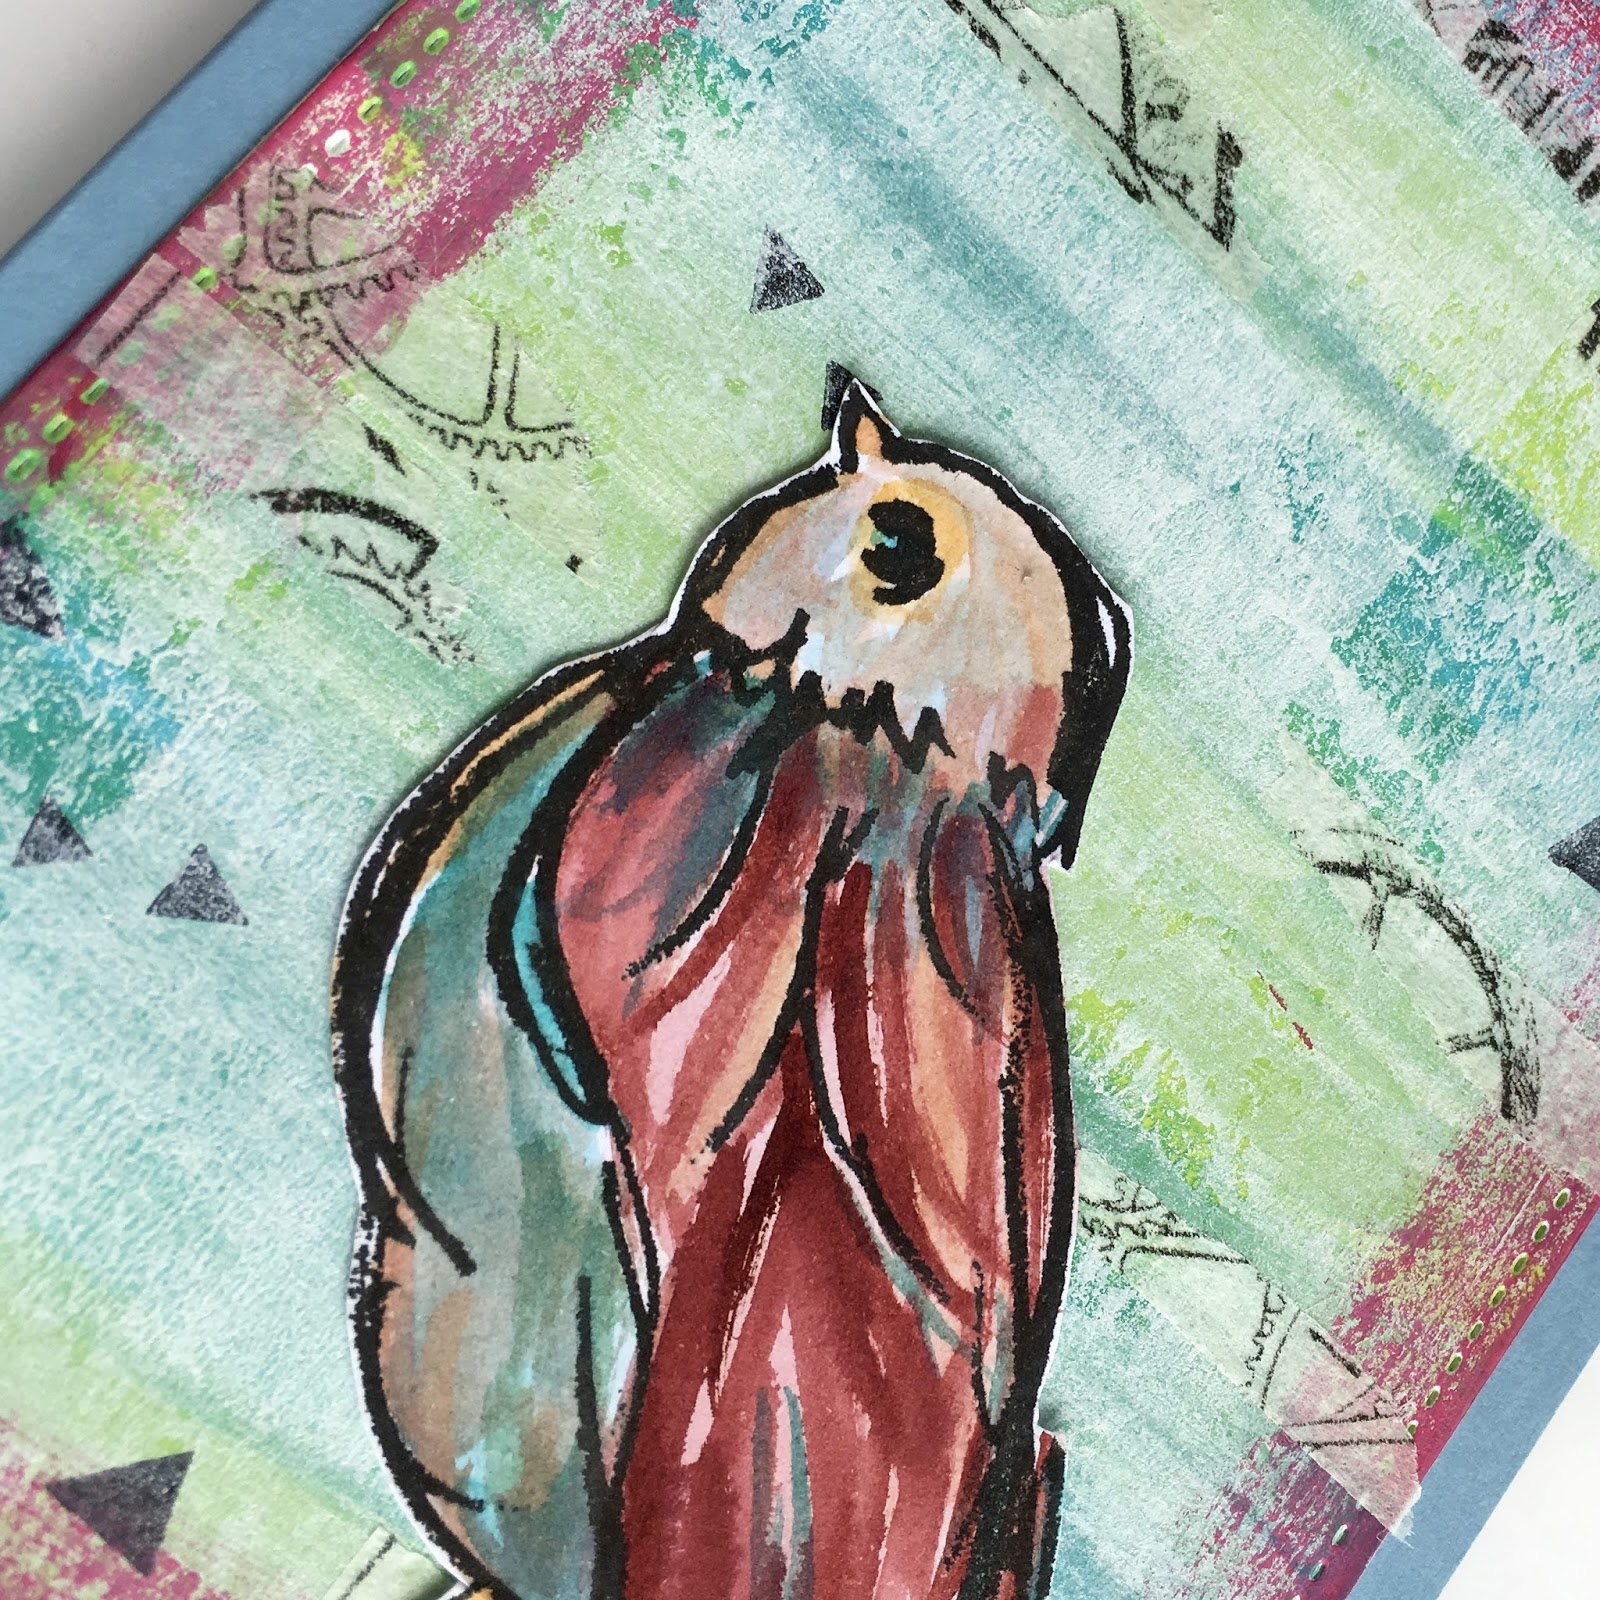
Once I was happy with my background I sketched and painted my flower in white and adding some shading with a black pencil. 


To finish my page I used a white gel pen to put in some background elements on the back. The white really makes the other colours pop !!!

The last thing I did was take a black pen and write in the words 'be free' running down the stem. 

I love the way my journal page has turned out and definately think the beautiful sunshine helped me create a happy piece of art !!!

Thanks for stopping by
Bright and painty hugs
Tracy
Xxx