Hello!
Today I want to share a little seasonal assemblage.....an Art Doll Christmas Fairy!

Now this may look a bit complicated.....but it really isn't! To prove it, I'll take you through the whole process, so grab a cuppa and get comfy, there are a lot of pictures to share!
The main body of my art doll is a Tando chipboard arch. Great shape for a body, and a nice sized niche to put things in! We need to use the arch as a guide to sketch out the legs for the fairy...

Nothing fancy, just a rough sketch on a bit of thick card. Cut the legs out, and paint them. The legs for my fairy are stripy, with turquoise glitter shoes! The legs need to be attached to the arch in the first stages of this make. There are five layers in the completed arch, so glue two together, then glue the legs on top...

Now glue the on the other three layers, making a leg sandwich!

Don't worry about messy glue at this point, its about to get covered! Now, we need to turn our attention to the inside of the arch, as this will be near on impossible to get at properly once the back is on! Cover the inside with torn up music paper...

Then decorate. I have given the paper a wash of white paint, smeared on a little turquoise paint then sprinkled with white UTEE. Once melted, this looks like snow showers!

We can now concentrate on the back of the arch. This is much easier to decorate before you glue it together! I have covered the arch with music paper and given it a wash of white paint....

Then smeared on a little turquoise....

I then silver embossed a flourish, roughly stamped a few snowflakes and added more UTEE 'snow'!

This can now be glued onto the arch frame....

The outside of the arch now needs our attention! Cover the lot with more music paper, making sure to go right around onto the reverse, as this will also make the back of the arch more secure...

Decorate this as well......

We can add in all the bits and bobs to the niche at this point! I've used a small Idea-ology tree (with the round base removed) along with a couple of tiny vintage trees I had in my stash. The twinkly stars are also Idea-ology...

We can work on the wings next. Bend and shape some wire into oval wing shapes..

Glue these to music paper using Glossy Accents....

Once dry, cut out....

Next, carefully fill in the oval frames with more Glossy Accents, sprinkling a little distress glitter over them too....

You will need six of these if you follow my design....but two can be just as effective! Once dry, group the wings together and twist the wire 'tails' so they are joined....

Whilst you have the wire out, you need to make arms too! Bend and twist the wire to do this, you may need to practice a few times to get the length and shape just right!

Once you have the wings and arms ready, you can glue them to the back of the arch body....

We also need to glue the support 'post' to the back of the arch whilst we're at it! This will help the fairy stand upright on her plinth. I've used a wooden chopstick for this. Cover with music paper and a wash of white paint..... (do the same to the driftwood plinth whilst you're at it!)

Once dry, it can be glued to the back along with the arms and wings...

Now, this is clearly a huge mess of hot glue and untidy edges! To rectify this, decorate the back just as we did the front and sides! Music paper, paint and melted white UTEE...

Much better!
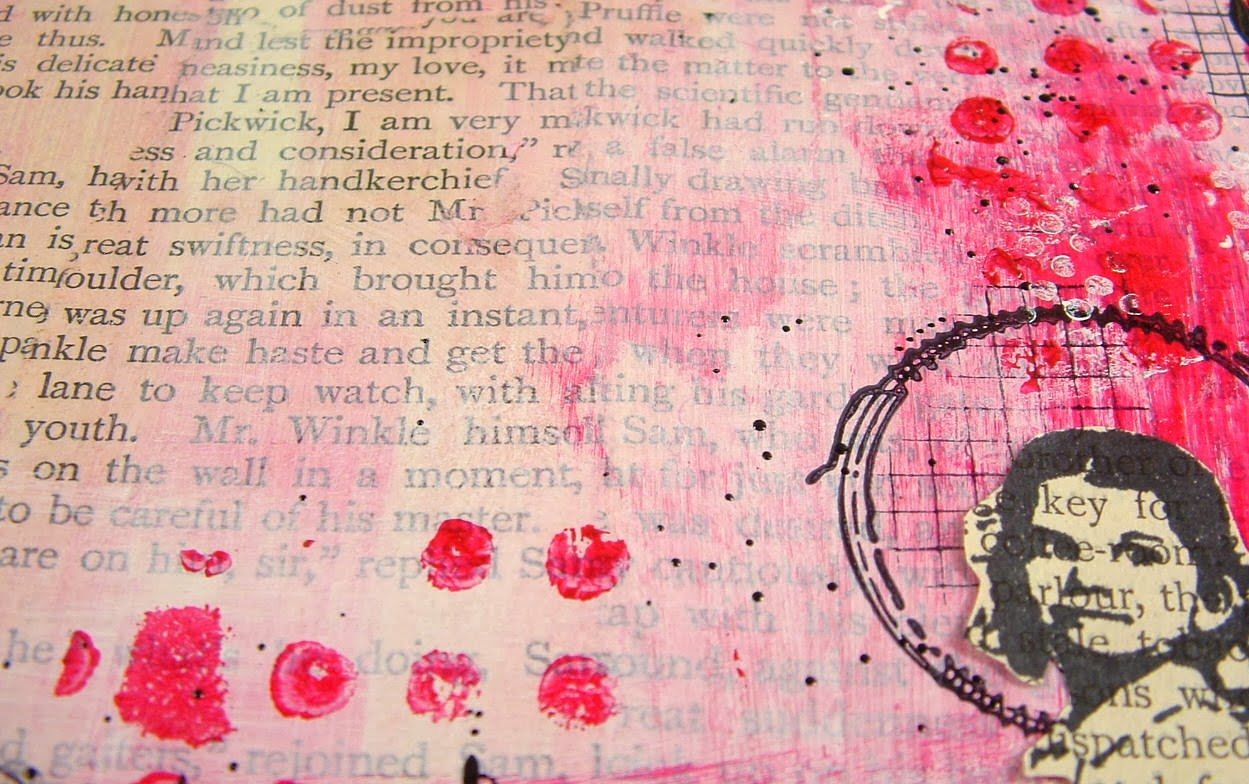
Next, stamp a head (Stampotique) and colour her face...

Colour a large Idea-ology star with alcohol ink....

Glue the star to the head, and add to the fairy body...

Now we can glue the whole thing to the base. This needs lots of hot glue, and don't forget you'll need to hold it in place until it sets hard!

The falling stars being held by the fairy are more Idea-ology mirror stars, simply stuck to a strip of acetate.

The acetate is glued around the fairy hand at one end...

and to the base at the other end....

All the hot glue mess on the base needs some attention....so cover it up with large flaked white glitter, and a few polystyrene balls (from an old beanbag!) to look like snowballs!
The starry base...

The fairy now looks like she is standing in a small snowdrift....

The fairy is all finished!!!!
Lots of little details to draw the eye..... Christmas songs on the musical wings....

Turquoise glitter on the trees...

The clear acetate making the falling stars look suspended in mid air...

and a little typed phrase to finish it all off nicely...

Phew...that was a photo marathon and a half!
I had a ball making her, and I hope you like her too!
Love Trish xxx
Today I want to share a little seasonal assemblage.....an Art Doll Christmas Fairy!

The main body of my art doll is a Tando chipboard arch. Great shape for a body, and a nice sized niche to put things in! We need to use the arch as a guide to sketch out the legs for the fairy...


Next, stamp a head (Stampotique) and colour her face...


The starry base...

The fairy now looks like she is standing in a small snowdrift....

The fairy is all finished!!!!
Lots of little details to draw the eye..... Christmas songs on the musical wings....


The clear acetate making the falling stars look suspended in mid air...
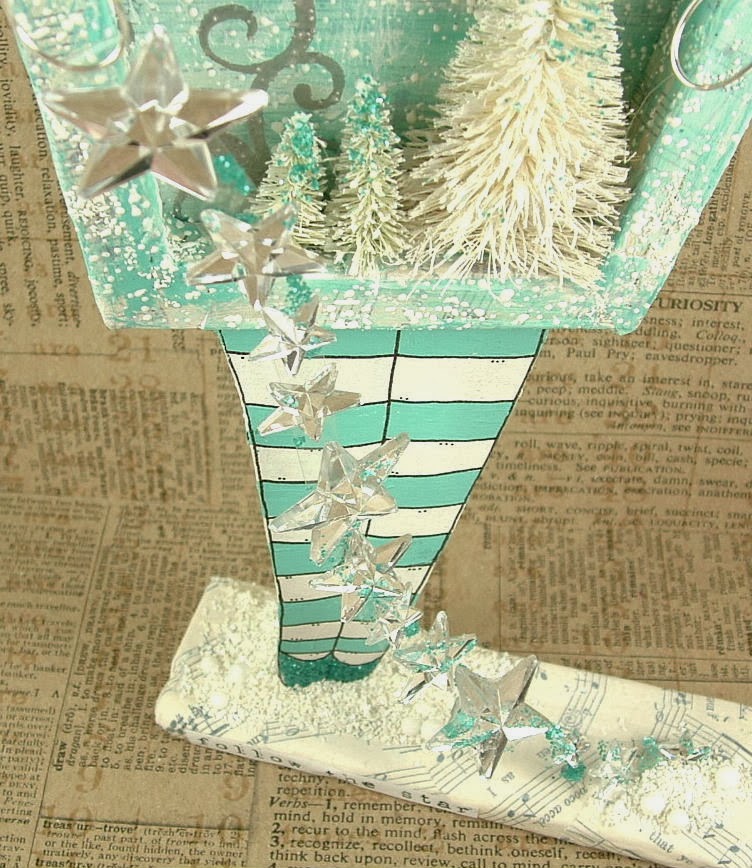
and a little typed phrase to finish it all off nicely...

Phew...that was a photo marathon and a half!
I had a ball making her, and I hope you like her too!