Showing posts with label black gesso. Show all posts

17 June 2016

Time Flies

Hi guys!  I've been playing with various media to make this Time Flies canvas.

I started off by making my weathered wood panel by swiping Distress Ink minis from top to bottom.

Then scoring it every half inch before stamping with the Peeled Paint background stamp from Darkroom Door.  I painted my canvas with black gesso and adhered the panel to the canvas.

Added a few buttons, paper flowers, bandage fabric scrap and some moulded items from my stash, and painted those black.  
Once everything was dry I sprayed Dylusions White Linen over it and when that had dried, rubbed on some Viva Decor Inka Gold in Lava Red, Jade and Gold.
The Inka Gold adds a lovely antique metallic look to the painted flowers.
Using the Julie Nutting Mixed Media Doll Wings stamp as a template, I cut out a pair of wings from black card and painted them with Finnabair Art Alchemy Acrylic Paint - Opal Magic Rose-Gold.  You see the gold in one light, and the pale rose colour in another.  The clock is from Tim Holtz Curiosities, sponged with Antique Linen.
I hope time isn't flying too quickly for you this summer!

Enjoy your weekend.
Shirley x

22 October 2014

An altered frame

As it's nearly Halloween I thought I'd do a bit of altering for a change. It's not usually my thing but for Halloween I can make an exception.

I've had this frame for ages. It was a cheap plastic one which I always intended to do something with and rid it of the Barbie pink, so what better way than with a coat of black gesso.


So this is what I ended up with. As well as the frame I also used the gesso on the doily which came out brilliantly.


The photo was one from my hoard of photo's and I just gave him a fancy hat, a pumpkin treat bag and stripey legs. I think he looks far better than when I started.


I also went around the frame with some Inka Gold cream. 


Have fun this Halloween.

Jaine x

19 March 2014

Magic box

Hello!

Today I have for you a very easy and quick box in 5steps.

1st layer - Tim Holtz Distress Paint Picked Raspberry


2nd layer - tissue paper


3rd layer - Dylusions Ink Spray Fresh Lime


4th layer - Claudine Hellmuth Studio Black Gesso


5th layer - Liquitex Glazing Medium ( only on a lid - you can see the difference )

I also add Stampotique Originals stamps and printed quote.

Magda x

03 March 2014

new idea

 Hello
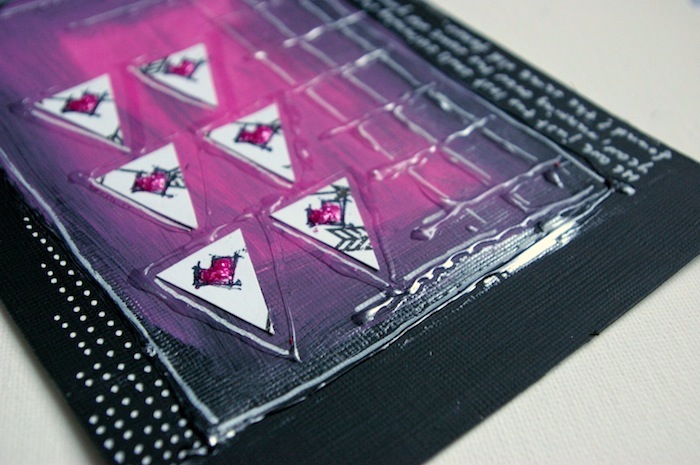
Today I have something different for you. I couldn't find an inspiration and I simply just sat and draw with glue some simple shapes. I like circles in my projects and now I need to try different shapes!


I used:
- Claudine Hellmuth Black Gesso
- Glitz Design Raven
- Posca Paint Pen White
- Distress Glitter
- Distress Paint - Picked Raspberry

Magda x

27 January 2014

Live.Dream.Love

Hello!


One more time something challenging for me. I made a project like this for the first time. I use a box from Prima Wood Icons in a Box. I painted the box using Claudine Hellmuth black gesso. Inside a small windows you can find pieces of Glitz Design Raven collection. 


I cut circles from Claudine Hellmuth Sticky-Back Canvas and used Hero Arts Ink Dauber and Ranger Archival Ink to colour them. 


Small clear drops are made from Ranger Crackle Accents and the dark ones from Ranger Liquid Pearls.


It was a great fun, I need more boxed like this!

I used:
- Prima Wood Icons In a Box
Hero Arts Ink Dauber
- Glitz Design Raven
- Claudine Helmuth Sticky-Back canvas
- Claudine Hellmuth Black Gesso
- Finnabair stamp - Doily
- Ranger Archival Ink
- Ranger Crackle Accents
- Ranger Liquid Pearls

Magda x

20 January 2014

out of a comfort zone

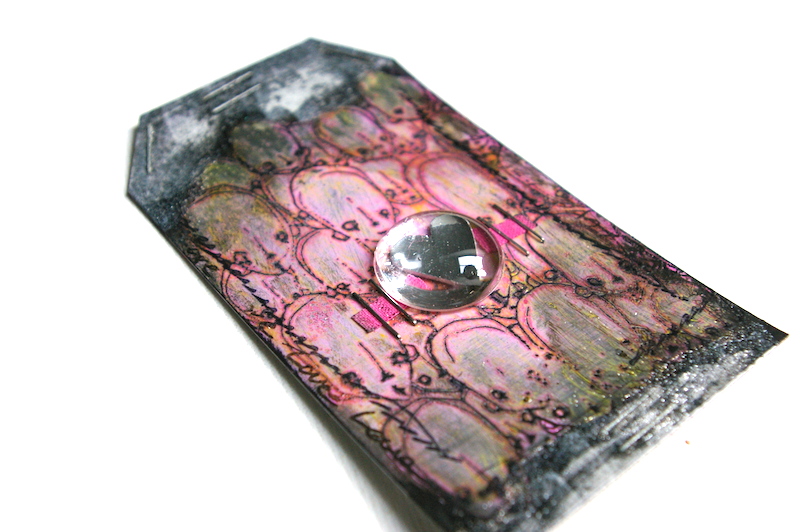
Sometimes Vicki sends me some stuff which I don't know or even have never heard about. This time it was Ranger Foil Cardstock.

I really didn't know what to do with it. It is shiny and slippery...it only means one...gesso, acrylic paint etc. will be easy to scratch. And it's true! I checked some acrylic paints and inks.

Ok...what now? I'm sure alcohol inks will be great for it but I haven't got any. How to make a texture? I haven't got embossing machine either but I found embossing powder in my drawer.

I used Stampotique Original stamp which is made from a good quality rubber and it's harder then acrylic stamps. I won't be able to smear it when I will push it too hard. I used Ranger Archival Ink for stamping. Than I applied some RangerDistress Paint. But...it won't be waterproof and I like waterproof things especially on slippery background. I mixed Liquitex Glazing Medium with yellow acrylic paint and applied it on a pink paint. Glazing medium gave transparency to the yellow paint and made my 'Heads' waterproof!

I wasn't sure this mirror-like look of the cardstock it was too much for me ;) I applied some ClaudineHellmuth Black Gesso and then using a tissue I removed some of it. It gave me some brighter spots. Still I wasn't happy that's why I used more embossing powder.

The result...


I was pushing myself out of my comfort zone. It's not my favourite project but it was really great fun to experiment with new products.

Magda x

06 November 2013

The worst construction ever...

Hello!

Do you remember my last post? I made these skulls at the old cardboard piece. I didn't know what to do with them...I made ( tried to do ;)) a box.


More walls...


It's not the best construction ever but here we go...


I used:
- Andy Skinner mask
- black gesso
- white gesso
- Dylusions Ink Sprays
- Tattered Angels Glimmer Glaze
- Ranger Archival Ink
- Stampotique stamps
- Sakura Gelly Roll Pen

Magda x

28 October 2013

Halloween skulls

Hello!

Few more days and children will knock to our doors screaming 'treat or trick', I hate this! But I like carving pumpkins and eating 'halloween limited edition' sweets hiding in a dark room pretending I'm not at home ;)))

I found Andy Skinner skull mask in my drawer which is perfect for this week projects. I made a page on a piece of cardboard. I will use it later for an art journal cover or for something else.


I put a layer of white gesso on the cardboard. Than I used black gesso for the skull mask. When gesso was dry I put a thin layer of gel medium where the skulls are to protect them from other mediums. I waited few minutes and used three different colour of Dylusion Ink Sprays. I like to use red, pink and turquoise which are always blend and I have few more colours on my project. I also used Ph Dr Martin's Bombay Indian Ink - orange and Tattered Angles Glimmer Glaze.


Once again I used gel medium but this time with Dylusions stencil. When each layer was dry I stamped some Stampotique stamps using Ranger Archival Ink. For last touches I used Posca White Paint Pen and white acrylic paint.

Magda x


18 October 2013

Simple book making- part one!

Hello!
I thought I would take a little break from all the painty panels (and tags, ATCs and journal pages!) for a few weeks, and show you something that I really should do more of...book making! Loads of simple and easy ways to create books, and I thought I'd share a few...
Here is part one.... (also to be titled "It's really hard to take a decent pic of a finished book"")

 
I have kept things simple, only a few pages, and not loads of mess etc on the pages themselves. You can go as detailed as you fancy, of course!
OK... how to do it. Pages first. I've started with a masterboard, this one is a 12" by 12" sheet of card....
As you can see, I sprayed it with dye inks, and then did a little printing, stencilling stamping and splattering over it. Not over much, as we can finish off each page once its cut. I have then cut my card into 10cm by 10 cm squares....
A 12" by 12" sheet will give you nine squares. My book has three double sided pages, so I need six altogether. So, choose you favourite six squares, then sew them to a black 'base' card.
I've done a little extra stitching here and there too, as you can see! Now we have our pages, we can add a little extra decoration. Here is one of mine...
I, again, haven't gone overboard here. A bit of washi tape, white paint dots and a punched out star, along with my main image and stamped word. Once you have decorated your pages (or not, you may rather keep them plain for someone else to add photos etc), its time to actually construct the book. Once the black base card is added, my pages are now 11cm by 11cm. I've cut two more bits of card 11cm by 11cm, and then scored them down the middle, like so....
The card hinges need to be the same size as your pages, so it's easy to work out how big they need to be when you make books of varying shapes and sizes. Now we need to attach the hinges together. I use strong double sided tape, wet glue gets very messy! Like this.....
So, you have stuck one side from each hinge to each other, forming what is beginning to look like a book! If you want more pages, simply make more hinges and keep sticking them to each other! Adding the decorated pages to your hinges couldn't be simpler. Again, strong double sided tape all the way....
Decide which page is to be your cover, then stick the first bit of card in your hinge to it...
As you can see, the card hinge goes halfway down the page, giving a good strong bond. Now it's time to add page two. This gets stuck back to back with your cover, with the card hinge sandwiched in between. Like this...
As you go along, remember to keep checking you are not sticking the pages in upside down! Page three gets stuck to the middle hinge....
Page four to the back of page three.... (told you this was easy!)
One card hinge left. So, page five first....
Then the back cover (or page six!)....
As the page backgrounds and the hinges were cut from the same card, you now have a seamless finish!
Books that have lots of pages need a little extra finishing, as the card hinge will be much thicker and needs to be hidden! The book will also have issues staying closed too... I'll show you next week how to deal with this!
For now, here are a few closeups of my pages...
I've added glossy accents to the stars for the shiny look...

LOVE this new Ranger washi tape!
I've cut up one Stampotique image to separate my three little girls.....
Hope you like my book tutorial.... I'll have another technique next week!
Trish xxxxxx