No, not me personally!!!
Hello!
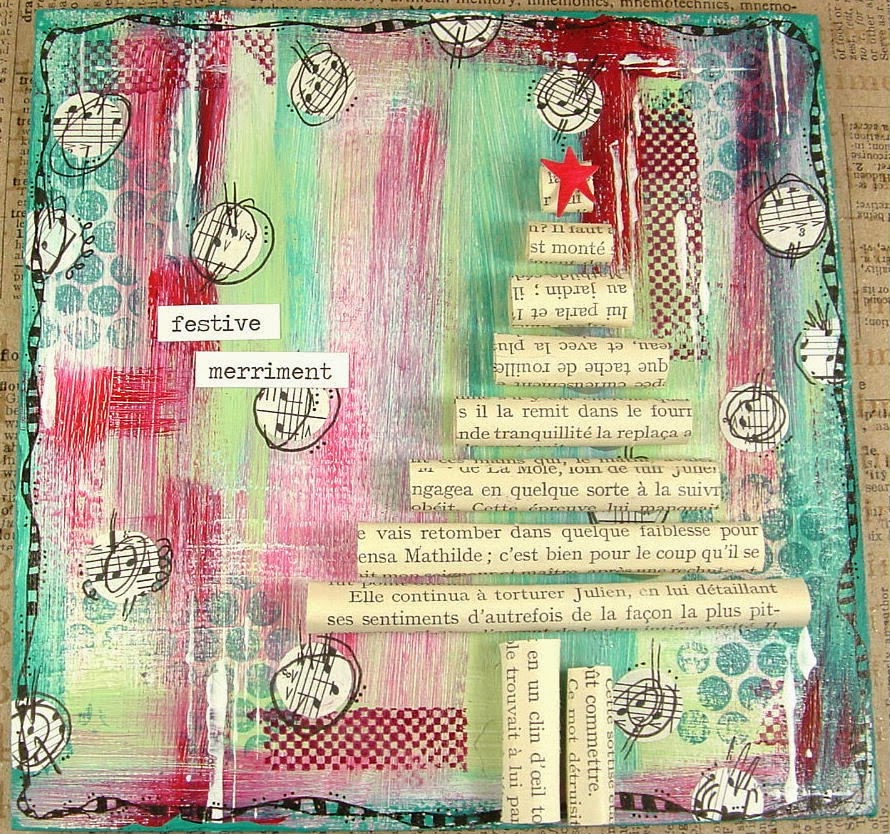
I have an messy inky background technique to share today, the background I used to make this...
Make sure your work surface is covered, and put gloves on if you don't like getting very inky!
We need to prepare the surface first. As we are going to be using lots of water and ink, the surface needs to be sealed, so give a
chipboard square plenty of
gesso layers to begin with! I wanted a little texture and pattern on the background, so got out the
texture paste and the
stencils......
(Yes, I know, white on white makes for a great picture.......)
Next, get out your inks! Now, you can use any ink for this technique (paint too), but I much prefer
acrylic inks. They dry to a permanent finish so you can layer them without any mixing and muddying of colours, which is a very good thing! The other benefit is that I find they are much more light fast than other spray inks can be. I like to look at a project months down the line and for it to still be the same colour as it was when I made it!
So....drip on a drop of ink...
Then spray with water. As you play about with this technique, you'll get a feel for how much water you want on the surface. I would say, start out with a little bit at first, then you don't drown the project! You can always add more....
Now tilt the surface so the inky water moves about...
Move it about until you're happy, then dry it off. Add more of the same colour to fill in some gaps....
Again dry it off. Drying in between layers not only stops colours mixing and running, it also stops the surface from getting too waterlogged!
Second colour...
Add the water...
This time I added a little more water, and let most run off to colour a larger area..
Dry off again, and add another colour...this time I used red to complement to yellow and pink...
Once that was dried, I thought it needed a 'pop' colour.....turquoise!
Squirt on the water...
Let it run off....
Add more if you feel it needs it, then dry off for a final time...
Once it it totally dry, you will notice the colours lighten slightly, you can see this if I put a finished pic next to the just inked pic above..
For some reason, the red seems to lighten the most....weird....
Anyway.... I did a little printing and stamping on the background...
I also painted white circles, and melted
white UTEE for a splattered look...
Because the background is so busy, I wanted the focal image to stay black and white...
My 'go to'
Stampotique girl, with added text stamping in her dress!
Lots of messy detail, and a nice way to play around and make some backgrounds!
Have a nice Friday everyone!
Trish xxxx

.JPG)
.JPG)
.JPG)
.JPG)
.JPG)
.JPG)
.JPG)
.JPG)
.JPG)
.JPG)
.JPG)
.JPG)
.JPG)
.JPG)
.JPG)
.JPG)
.JPG)
.JPG)
.JPG)
.JPG)
.JPG)
.JPG)
.JPG)
.JPG)
.JPG)
.JPG)


