Hi there peeps! Are you enjoying this little burst of summer? I've managed to drag myself away from the garden for a few hours of crafty time.
I've been playing with the Scribbly Birds set from Dina Wakley. I made a couple of background panels using Dylusions paints, then cut two panels using the Lawn Fawn Lawn Cuts Small Stitched Rectangle Stackables Dies.
I smudged the paints onto the panel, splattered some white, then once that had dried I brayered some white over the top to knock everything back.
I stamped the bird in Versafine Onyx Black, then watercoloured using Distress Inks and fussy cut the image.
Cut-down strips of Tim Holtz Idea-ology Tissue Tape were added to the panels for visual interest.
My second card was made using the same process. I stamped some triangles from Hero Arts Stamps & Cut - Happy onto the panel.
This time I tore the tissue tape into strips to layer onto the panel.
Thanks for popping in, and enjoy this good weather while it lasts!
Shirley x
Showing posts with label Hero Arts. Show all posts
17 August 2016
22 May 2016
Maude Doodle Dolly
Hi peeps! Have you seen the gorgeous new stamps by Karen Hayselden for Stampotique? I fell in love with Maude Doodle Dolly.
I stamped her on a spare piece of white card, then watercoloured her with Distress Inks and cut her out.
On my tall card base I swooshed some black gesso across to ground where she would be standing, splattered some Distress Inks, then added some ring marks using a bottle top and Dylusions Cherry Pie and After Midnight paint, placing one of the ring marks as a halo.
I added a diecut and sentiment from Hero Arts Happy Stamp and Cut set to finish the card.
Pop on over to the Sprinkle of Imagination store for a look at the rest of the new Stampotique designs and all the other new goodies.
Shirley x
06 March 2016
Happy Mother's Day!
Happy Sunday, and Happy Mother's Day! I thought I'd show you the card I've made for my mum, using the Pomegranate Bits from Julie Fei-Fan Balzer.
There are two masks in the pack, and all I did was ink them with Distress Ink Minis, spritz lightly with water, then lay each one down onto white card, pressing with kitchen towel to ensure full contact and to make sure the inks blend.
You can get a bit of splatter/leakage as you lay the mask onto your card, but that suits me, because I add more splatter anyway!
When you remove the mask, there is still sufficient ink left on it for another quick spritz and a softer image. You can also use either side of a mask, which helps to give a bit of variety to your composition.
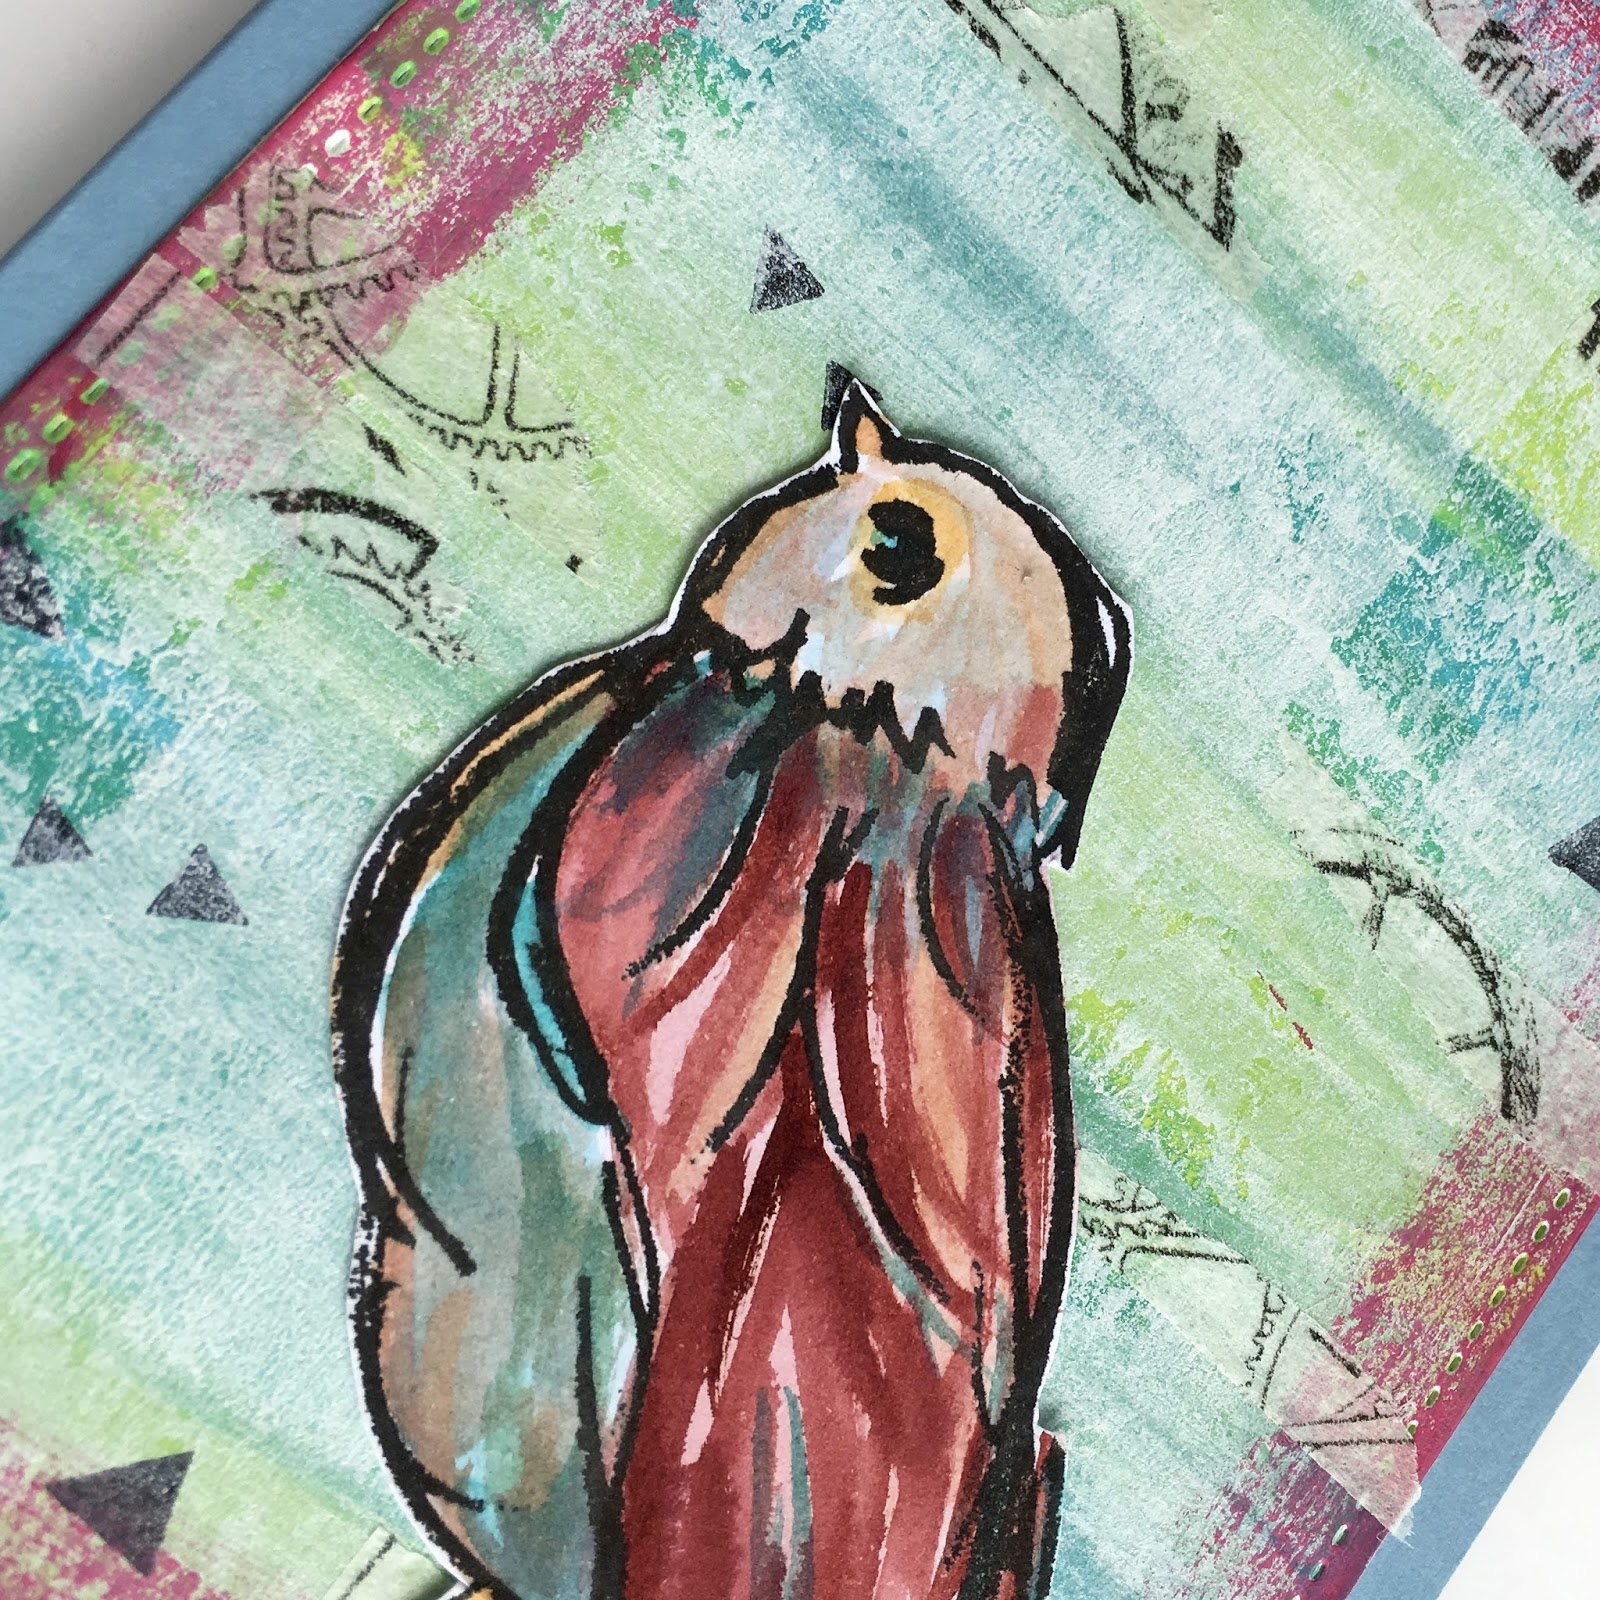
To finish off my card, I defined the edges of the images by very quickly and loosely scribbling around the edges with a fine tipped black pen. I created a matching sentiment by watercolouring the same Distress Inks onto white card, then die-cutting the Hero Arts Happy Stamp & Cut, and stamping the rest of the sentiment, then mounted the whole panel onto yellow card.
That's it from me today - enjoy the rest of your weekend!
Shirley x
04 March 2016
New Arrivals | Kelly Purkey
| |||||||||||||||||
|
07 February 2016
Happy Anniversary
Happy weekend, folks! Shirley here with a slightly grungy anniversary card for you. February being the month of love, we're seeing plenty of hearts, pinks, reds - but rather than a valentine's card, I thought I'd make an anniversary card.
I started by colouring a piece of mixed media card with Barn Door Distress Paint. Once that had dried, I applied Brushed Pewter Distress Paint to some bubble wrap and used it as a stamp onto the panel. I used the Lawn Fawn Lawn Cuts Small Stitched Rectangles to trim the panel.
The 'happy' (diecut from glitter foam) and 'anniversary' are from the Hero Arts Happy Stamp & Cut set.
The red Distress Paint hadn't covered fully, leaving some of the paper texture showing, but I think that adds to the grunginess :)
The heart is made from Tim Holtz Grungepaper which had been sponged with Fired Brick Distress Ink then embossed to give it texture, and heat-set with clear embossing powder. I attached it to the red panel with a heart-shaped brad which I found in my stash.
On a tent-fold white card, I 'painted' some Brushed Pewter marks with a credit card, added some more marks to the red panel, then adhered the panel to the card.
I hope I've given you some ideas for Valentine's or anniversary cards. See you soon!
Shirley
04 December 2015
12 Designers of Christmas -Designer # 2 Vicki Abrathat
hello there!
This is a rare sight from me.... making my own Christmas cards,
but with some many fabulous products in the shop
it was difficult not to do some for close friends and family.
Keeping it simple and clean is the way forward for me.
I have utterly fallen in love with these
stitched snowflake dies from Lawn Fawn .
The cards and the die cuts have all been made from my absolute favourite
Bazzill Card Shoppe cardstock in Marshmallow.
Its a really nice warm white and cuts beautifully.
Merry & Joy (as shown below) are Hero Arts dies from their Stamp & Cut range, so you can add additional messages to your cards if you want to.
To create the raised effect I have adhered 4 dies cuts together using Claudine Hellmuth matte multi medium. I keep a stash of the small bottles in my drawer. I find this the best "glue" to do this. If there is any spillage I run round the edge a QuickStick Tool - it comes with a fab pointy-stick-thing
(I know...very technical!)
The raised panels are Lawn Fawn Stitch Squares, the tops ones are back with regular craft foam so they don't get squashed in the mail.
I also have a bunch of snowflakes left over... they may well become table confetti.
By leaving a comment on all twelve of the designer blogs you could
win yourself a fabulous prize of a mixed media kit so you don't want to
miss out.
01 December 2015
12 Brands of Christmas-Brand #1 *Hero Arts*
Hello
HELLO!
It's December 1st...so that means.....drum roll...... the start of our
HUGE,
MASSIVE,
GINORMOUS,
12 Designers at Christmas blog extravaganza!
Christmas is getting oh so close now! Eeek
Its a this point of the year I start wondering what exactly it is that
I have done with the first 11 months!
Right up until Christmas Eve, we will be featuring a fabulous project by a guest designer, or showcasing an exciting big Brand every single day! Yep, you read that right..
Every. Single. Day!
So, bookmark the blog and check back often, we have loads to share in the run up to Christmas 2015!
Right..best get on with it then.....
This year we have the shop stocked full of goodies for making quick,
or not so quick Christmas cards.
One of my favourite brands for this is Hero Arts.
They have such a great variety of stamps for this time of year, so here is a quick
run down of some of my favourites!
Kelly Purkeys "Kellys Noel" set is perfect for simple graphic cards.
if you have something a little more cute, then you cant go wrong with this set.
Three Elves with a die. These sets are proving to be very popular.
I've already had to stamp out a few sets of these as my daughter wants to spend hours colouring in. She has promised me they will make it on cards but I suspect she has an elf house
How about this 6x6 Hand drawn snowflake background to create some interest in your winter
or Christmas projects. It is cling mounted but it may be easier to lay it face up and place your cardstock on top of it.
If colour layering is where your heart is at, then this layered Christmas tree set is perfect.
All those extra little stamps in this set could be very useful, and with a To and From stamp great for gift tags as well.
We've also got a few sets that are just sentiments.
The Merry Stamp & Cut set is a hot favourite with me this year.
Pop back in a couple of days to see how I've used it on
some of my Christmas cards for family & friends this year!
Happy Christmas Card Making!!
Vicki
18 November 2015
Joy
Hello!
I wanted to create a simple Christmas plaque as my project today... not many colours, not loads of distracting detail... I hope it works!
I covered an MDF panel with music paper, then gave it a wash of white gesso. A further wash of sky blue paint, and that was it!
I covered the panel with a layer of clear gesso, as I knew I wanted to add wet media in the form of watercolour pencils. The clear gesso gives an even 'tooth' layer, enabling the watercolours to move about freely, whilst still being able to see through to the layers underneath.
I sketched out and coloured my figure..
As i mentioned, watercolour pencils for the face, then I coloured her hair with blue acrylic ink. I added sprinkles of white UTEE as the snow, and also drew some larger flakes with a white gel pen..
My word is a die cut word from Hero Arts, I cut it from thin card then used gilding flakes over the top to give the silver metallic sheen..
Have a fabulous day,
Trish xx
ASOI products used:
White Gesso
Sky Blue Paint (Dina Wakely)
Clear Gesso
Watercolour pencils
Acrylic Ink
Hero Arts word Die
White Gel pen
25 October 2015
Making Tracks
Hi folks, Shirley here with a card for those oh-so-hard-to-make-for menfolk in our lives. The Tim Holtz Treads Layering Stencil was the perfect starting point. I used Finnabair's Graphite Texture Paste through the stencil onto some watercolour card. Don't be put off by the 'undercoat' colour of the paste - when it dries it's a beautiful dark colour with a fabulous slightly sparkly texture.
A close-up of the texture - with sticky pads in the grooves, ready for the stamped image. |
I hope that's given you an idea for cards for your men. Thanks for stopping by!
14 September 2015
Mini Christmas Cards
Hiya... Georgie here!! :)
When I saw these super cute Hero Arts Scandinavian Holiday stamps, I knew I had to have them in my life!! I just adore this style!!!!
Now usually I'm a background stamper, love getting messy and not having to worry about perfection. I have created a set of mini notelets, which can be used as Christmas cards, or thank yous for after.
I wanted to do so much more with these and ventured into a watercolour background, but the images just didn't pop like I wanted them to. So after some playing around I went CAS, which for me is a real achievement!
Archival Ink in Jet Black, created the contrast I wanted for these.
I can't help but think of 'Frozen' when I see these images :)
Soooo in love with this little Christmas Tree!
Clean, simple and sweet! If you need some cards made up in a hurry for Christmas, I completely recommend these, they are just such a joy to work with :)
Hugs
Georgie
xx
28 July 2015
You brighten my day!
Hello!
A little panel from me today... packaging materials giving nice texture!
The cardboard looked particularly ridged for some reason, which is great...
I used paint as usual on the base, smearing colour along with white to give a blended look.
The flower was created from stamped images, a heart for the flower head, and a curl for the stem. Both are Stampotique..
The words are from the new stamp set I told you about last time, the Hero Arts one with the die included..
I did a little doodling to finish..
Have a fabulous day!
Trish xxx
Subscribe to:
Posts (Atom)