Hi Everyone and thank you for the lovely comments on my last
project.
What fun I had with this one. This is more a signature piece
for me, but the background was a whole new adventure! I have not used one of the Ranger Giant Tags before and boy are they big! I
thought about making a small book, but decided to use the tag to make a
hanging. I took 6.5 cms off the bottom to
break it up a bit.
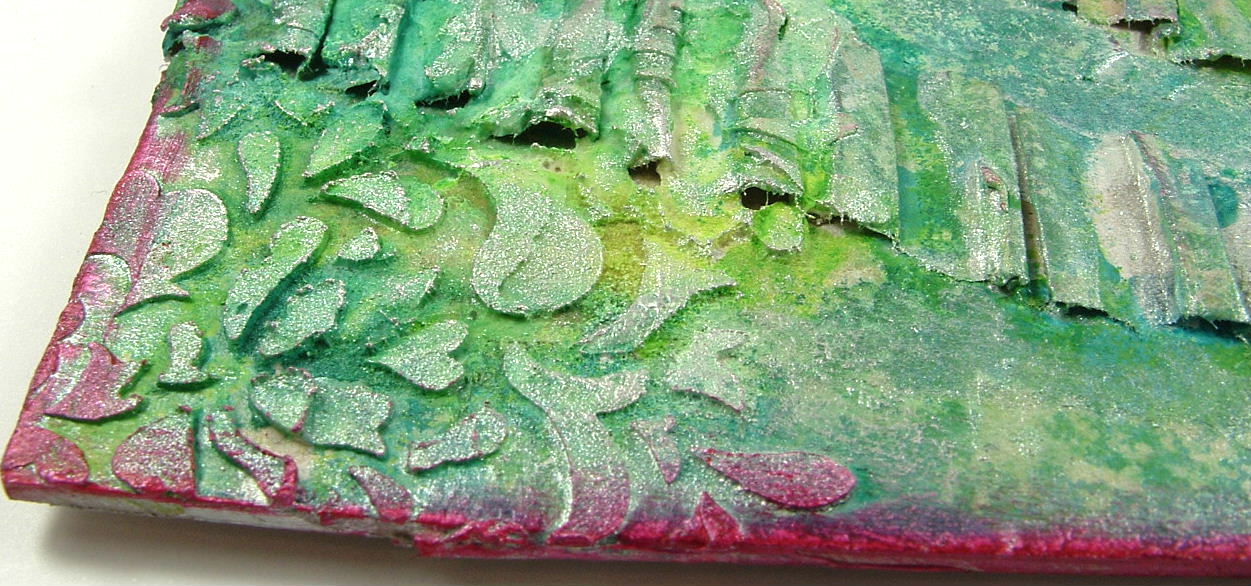
So the background:

I used Claudine Hellmuth Gesso and a
Crafters Workshop Diamond template to create some texture on the tag
and also glued some pieces of an old doily here and there. I added some text with Midnight Blue StazOn Ink and then painted a watery
dilution of Claudine Hellmuth Studio Semi Gloss Acrylic Paint : Sky Blue all
over the tag and spritzed it here and there with water to get a more mottled
effect. However, I did work in stages as
the tag is so big and the paint actually dries quite quickly. Once I was happy with the effect I put some
darker paint in various places around the gesso.

I blended some Vintage Photo Distress Ink in the lighter areas and then it was the turn of the Tim Holtz Tissue Paper (again something I’ve not used before). I just tore off strips and
glued them with Claudine Hellmuth Multi Medium. I love the way the tissue paper clings around
the gesso and just disappears into the background. Finally I dotted splatters all over the tag from watery Vintage Photo Distress Ink.

So here is the finished tag – lots of new
techniques and products for me, but I shall certainly be doing more!

Then it was down to decorating. I used the Tim Holtz Dress Form Die and some
lovely Teresa Collin’s Now & Then cardstock. The flowers are all handmade by myself –
these are the well known grungepaper type roses but I use cream card, water and
scrunch them up before making the rose itself. (I am a bit obsessed with making flowers, and if you want to see more there are some tutorials on
my blog.)

Although I’ve used lace, twine and ribbon
from my own stash, Vicki has a wonderful array HERE which are definitely
on my wish list!
Thanks again for looking and I look forward to coming back at the end of the month with my final project x